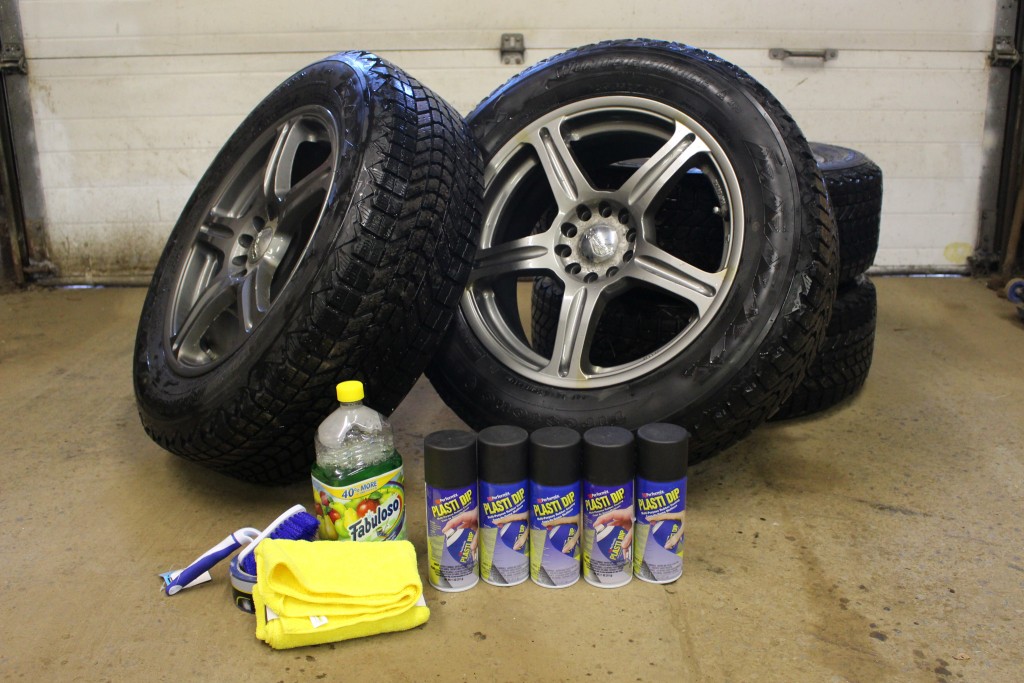
When it comes to do-it-yourself cosmetic vehicle modifications, one basic and easy mod is the use of Plasti Dip. If you’re looking to change the look of your car on the cheap and are considering a color change (of your wheels, hood, even your whole car), this stuff allows you to do it yourself, affordably, at home, and it’s easily removable!
Plasti Dip is a multi-purpose, specialty rubber coating available in aerosol cans. It protects coated items against moisture, acids, abrasion, and corrosion. Plasti Dip remains flexible over time, and will not crack or become brittle in extreme weather conditions.
While originally used to coat tool handles and other household projects, it’s easy to see how these attributes are ideal for automotive applications. It will protect the original paint/finish with rubberized paint while changing the color and it’s easy to remove later on with no ill effects.
 I decided to give this a try myself after picking up a less-than-stellar condition set of wheels and tires on Craigslist. I was looking for a cheap set of winter tires to get me by this season and these fit the bill – albeit with the wheels having paint chips. I then recalled all of the “dipped” wheels I’ve seen at shows and decided to try it and document the process.
Of note, most folks online tend to spray their wheels while on the car and just protect their rotors. Since my wheels were already off, it seemed easier to paint them as such. I’d make sure your tires/wheels are properly balanced/inflated before attempting this process with “used” tires.
Step 1
Wash the tires/wheels. If there’s any heavy dirt or mud on your wheels, the easiest thing is to hit them quick with a hose.
Remove any grease/oil residue. Any degreaser would likely work; I opted for a multi-purpose bottle of Fabuloso (similar to Simple Green). Use a brush and some elbow grease to thoroughly clean any area that may be oily. At this point I also cleaned up some of the chipping paint.
Step 3
Rinse off any extra degreaser and allow wheels to dry. The paint needs a bone-dry surface to properly adhere. I used a microfiber cloth to speed up the process and to get everything squeaky clean.
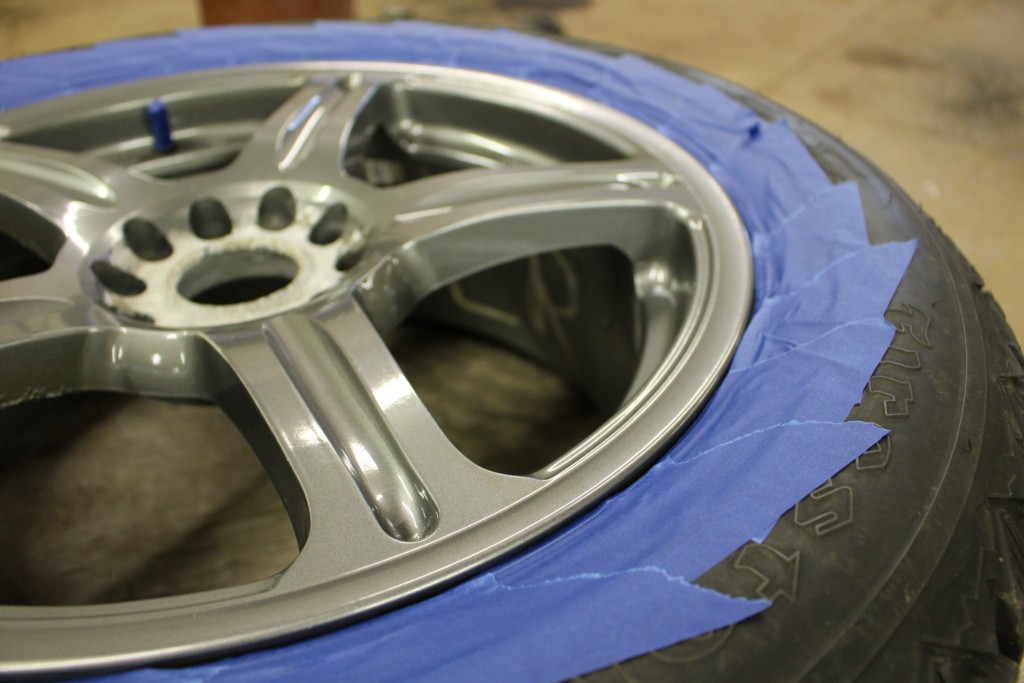
Mask the tires. The jury is out on this part. Some guys online don’t do it, others do. For the 10 minutes it took, I thought it was worth the effort to mask and play it safe.
Step 5
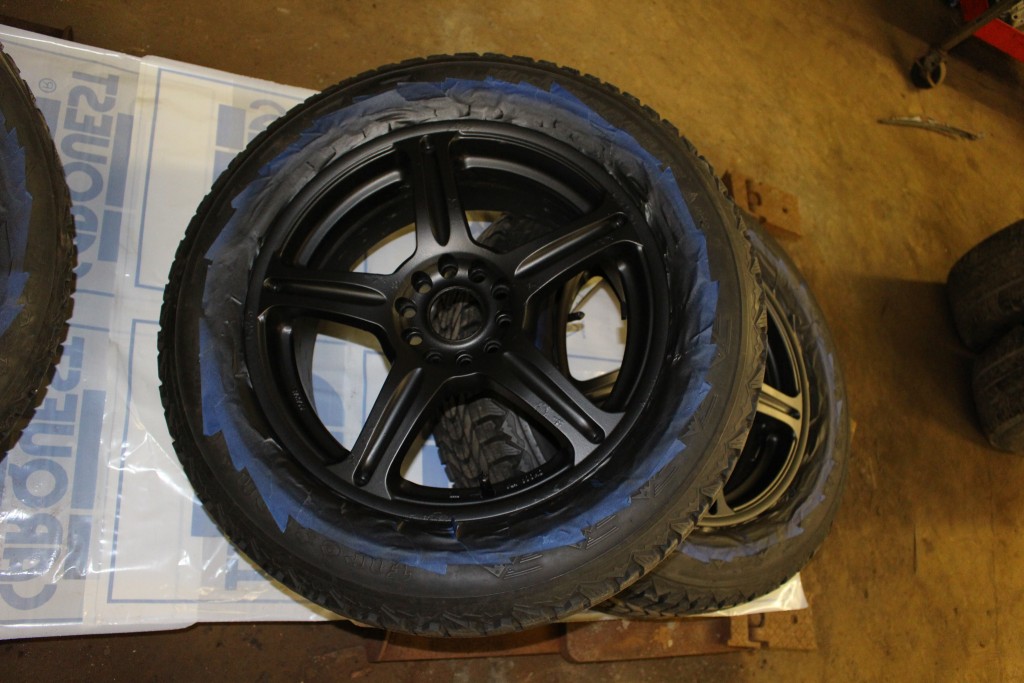
Now it’s time to start painting. You’ll need to do several coats, starting light at first. Ideally you’ll want 4-5 coats total (more is ok too) in order for to have a nice thick, removable layer of coating. For these wheels it took three cans of Plasti Dip, so for approximately $18 and a few hours’ time I ended up with a completely new look.
 This is an easy first time project that just about anyone can do in their own garage. The investment is minimal and the results can easily be removed if you don’t like how they turn out. Plasti Dip has taken notice of what us car guys are doing and offer tons of new colors, finishes, and more all of the time. Check out their site for more ideas at www.dipheadsunite.com.
Photos and story by Kevin Crandall


